US Tank Company vs Soviet Tank Company 1986
This was a 'Cold War Heats Up' scenario involving a meeting engagement between 2 tank companies with an attached mechanised infantry platoon.
The US Force (Morale - Regular, Training - Trained)
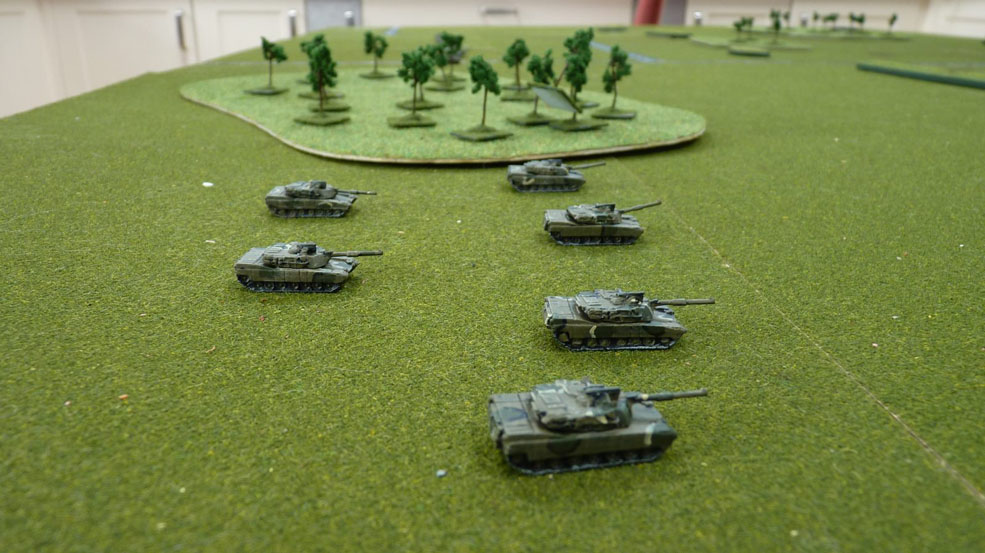
Company HQ - 2 x M1 Abrams each carrying a commander.
Tank Platoon - 4 x M1 Abrams.
Tank Platoon - 4 x M1 Abrams.
Mechanised Infantry Platoon - 4 M2 Bradley each carrying 1 Rifle Group and 1 Weapons Group with a Dragon.
The Soviet Force (Morale - Regular, Training - Trained)
Company HQ - 1 x T64B each carrying the commander.
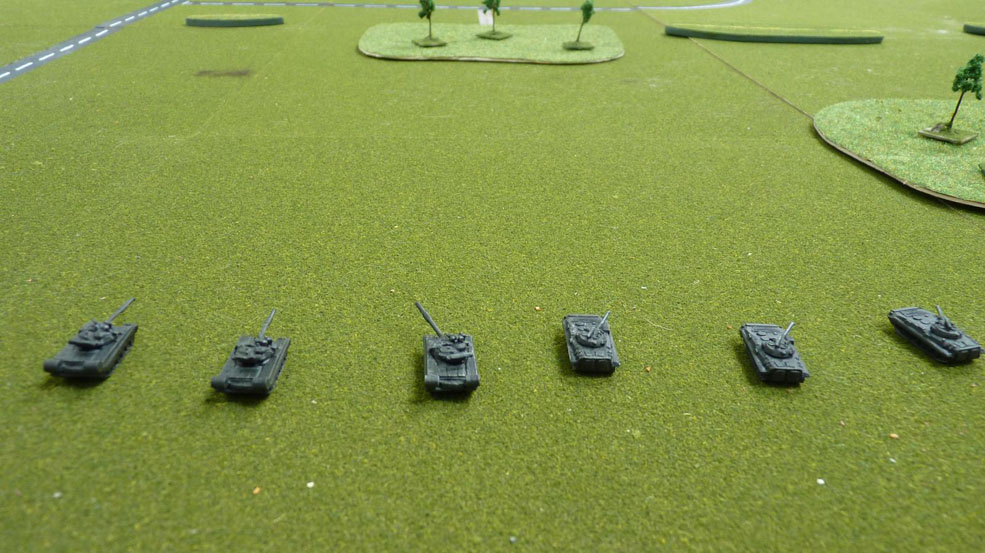
Tank Platoon - 3 x T64B.
Tank Platoon - 3 x T64B.
Tank Platoon - 3 x T64B.
Motor Rifle Platoon - 3 x BMP2 each carrying 2 Rifle Groups.
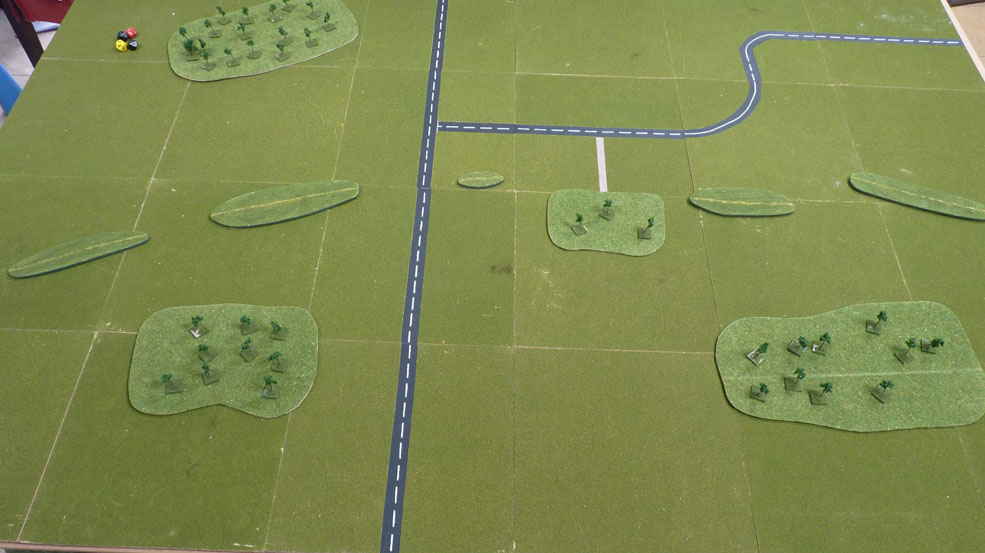
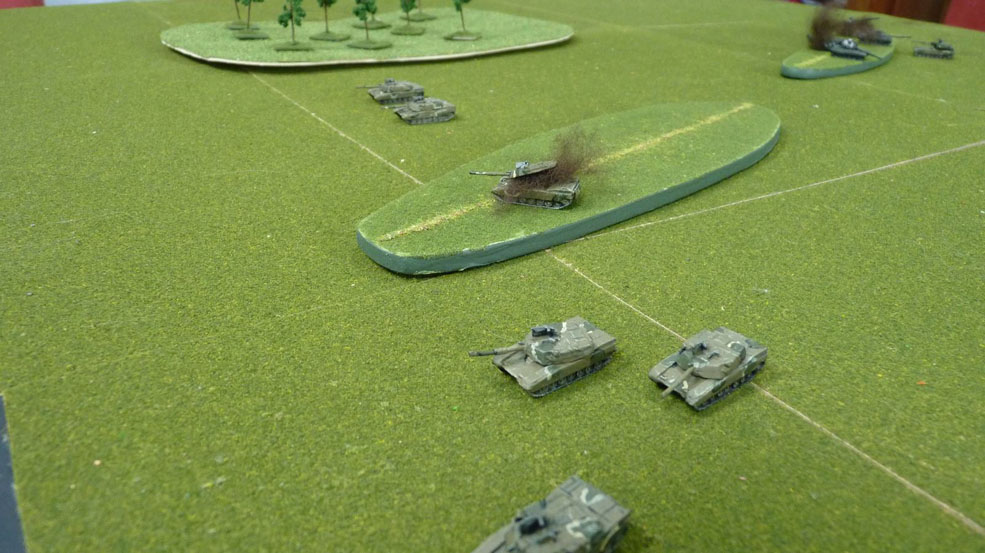
The objectives for each side were to defeat enemy forces in the area and to be able to control the line of ridges in the centre of the table. A quick view of the table from the east before the commencment of hostilities:
Turn 1
The Soviets won the initiative and became the Active player first in each turn. One tank platoon and the motor rifle platoon advanced in the centre flanked by the other 2 tank platoons.
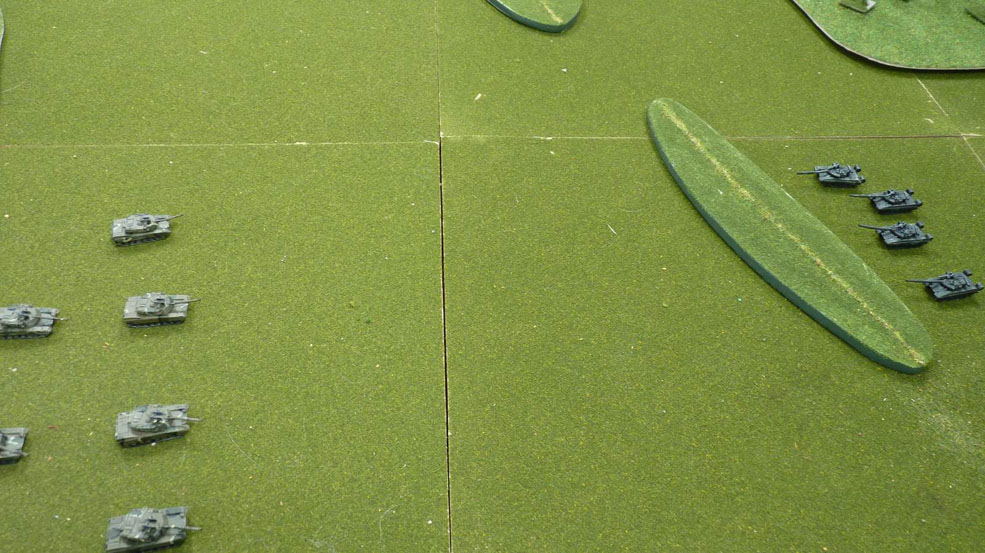
 The US responded by sending one tank platoon backed up by the CHQ to the south and the other tank platoon with the mechanised infantry through the centre, aiming to overwhelm the Soviets at critical points but leaving the northern flank vulnerable. It was risky and speed would be essential.
Turn 2
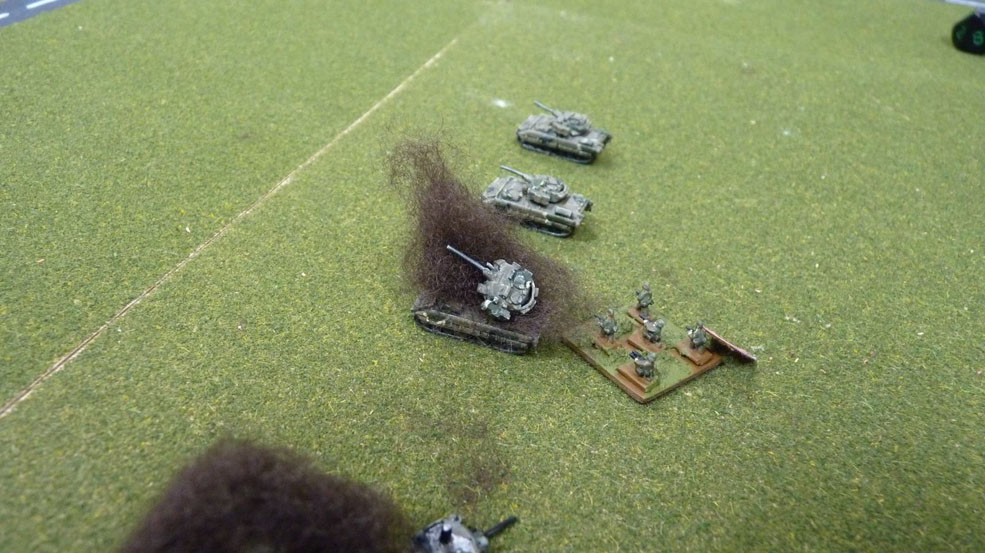
The BMPs made a dash for the wood in the centre, using the Transit option to get there quickly. Fortunately they were able to get there safely. Two T64s saw the M1s in the centre and fired but missed. The T64s in the south used the hill to shield their advance followed by the CHQ
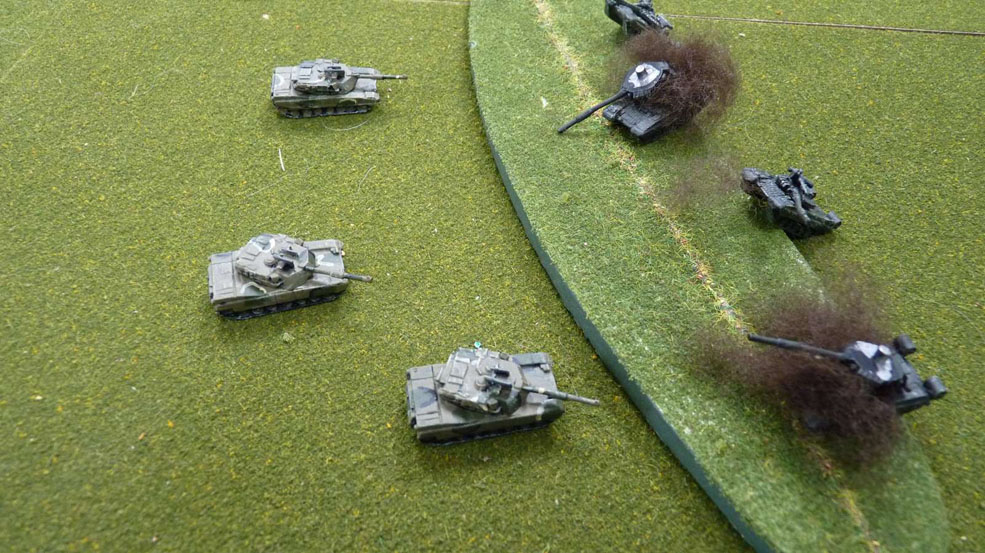
The Bradleys saw the T64s trying to flank them to the north and, realising the need to deal with the threat, risked halting in the open to fire ITOWs at the Soviet tanks. The T64s failed to take effective action against the incoming missiles and all 4 hit resulting in 1 tank destroyed, 1 neutralised and 1 suppressed. The M1s in the centre used their stabilisation to move so that they could see the T64s and then fire at them destroying 1 T64. In the south the other M1s advanced quickly on the hill hiding the T64s.
 Both the Soviet tank platoons that suffered losses passed their morale tests
Turn 3
In the north the suppressed T64 fired at a Bradley and knocked it out although the passengers escaped. In the south the T64s took advantage of their stabilised guns to move into hull down along the crest of the hill and fire at the approaching M1s achieving 2 kills. In the centre the 2 surviving T64s fired and missed - bad shooting! This left them in great danger so they sensibly took cover behind the wood with the BMPs. The infantry got out of the BMPs and entered the wood.
 The T64s in the north successfully unsuppressed one tank and unneutralised the other, while the US passed both morale tests.
The Bradleys unleased a hail of ITOWs destroying one T64 in the north. In the south all the M1s fired at the T64s in hull down destroying 2, including the CHQ. This was bad news for the Soviets as it not only meant a company morale test, but also hindered their ability to act. All morale tests were passed.
The T64s in the north successfully unsuppressed one tank and unneutralised the other, while the US passed both morale tests.
The Bradleys unleased a hail of ITOWs destroying one T64 in the north. In the south all the M1s fired at the T64s in hull down destroying 2, including the CHQ. This was bad news for the Soviets as it not only meant a company morale test, but also hindered their ability to act. All morale tests were passed.
Turn 4
The remaining T64 in the north destroyed a Bradley then moved into a turret down position behind the hill to avoid any retribution. The rifle group in the Bradley escaped.
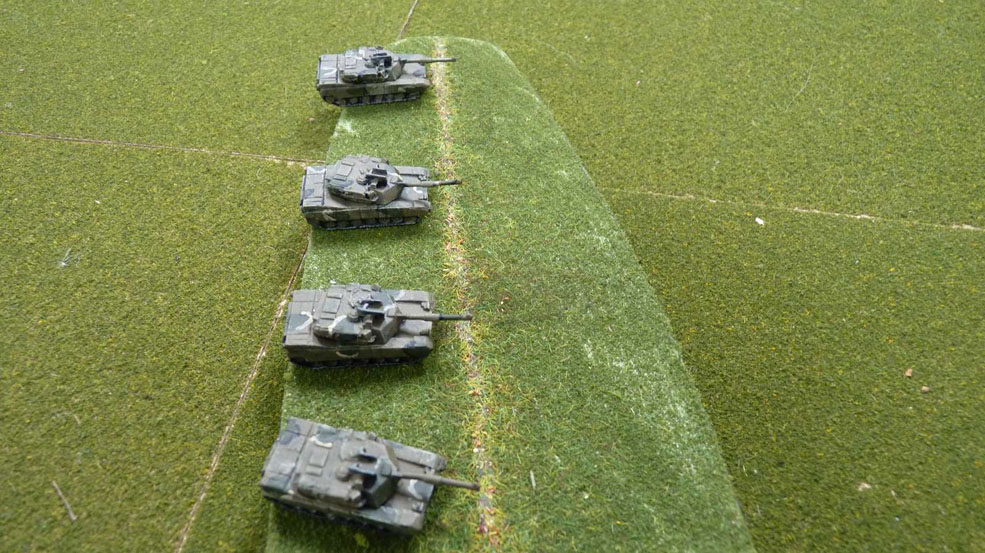
 The M1s in the south advanced into the dead ground at the foot of the hill to prevent the T64s firing at them from a hull down position. In the centre the M1s went into turret down along a ridge. The Bradleys were worried about the threat from the surviving T64 in the north and tried to flank it in its turret down position.
Turn 5
The Soviet infantry advanced through the wood. The T64 in the north moved into hull down and fired at a Bradley - miss! In the south the T64s moved over the crest of the hill in a desperate attack and inflicted 2 kills. The T64s in the centre turned to present their frontal armour to the M1s that were seeking to outflank them from behind the ridge.
The M1s in the centre moved into a firing position and destroyed 1 T64 and 2BMPs - good shooting! The Bradleys fired ITOWs at the hull down T64 in the north, but neither hit - not so good shooting! The CHQ fired at the surviving T64 in the south - appalling shooting!
Turn 6
The T64 in the north fired at a Bradley and missed, then moved out of sight again. The last T64 in the centre destroyed an M1 on the ridge. The remaining BMP fired a Spandrel that hit an M1 on the turret; it had no chance of penetrating but would distract the Americans when firing back. In the south the stress of close quarter battle affected the surviving T64 which missed at point blank range.
The close range firefight in the south was finally settled in the US' favour with the destruction of the last T64. The US CHQ followed up the victory by occupying the ridge. The last T64 in the centre was also knocked out.
The prospects for Soviet morale were not good. The morale state dropped a level to 'Uncertain' but could have fallen much lower.
Turn 7
The Soviet infantry reached the western edge of the wood and fired a volley of RPGs at the Bradleys. Both were hit, one was knocked out and the other neutralised, with the passengers rapidly bailing out. The neutralised Bradley was then finished off by the Soviets' sole surviving tank. The last BMP drove to the northern side of the wood and opened fire on the bailed out US infantry to no effect. These sudden losses were a shock for the US infantry whose morale dropped a state.
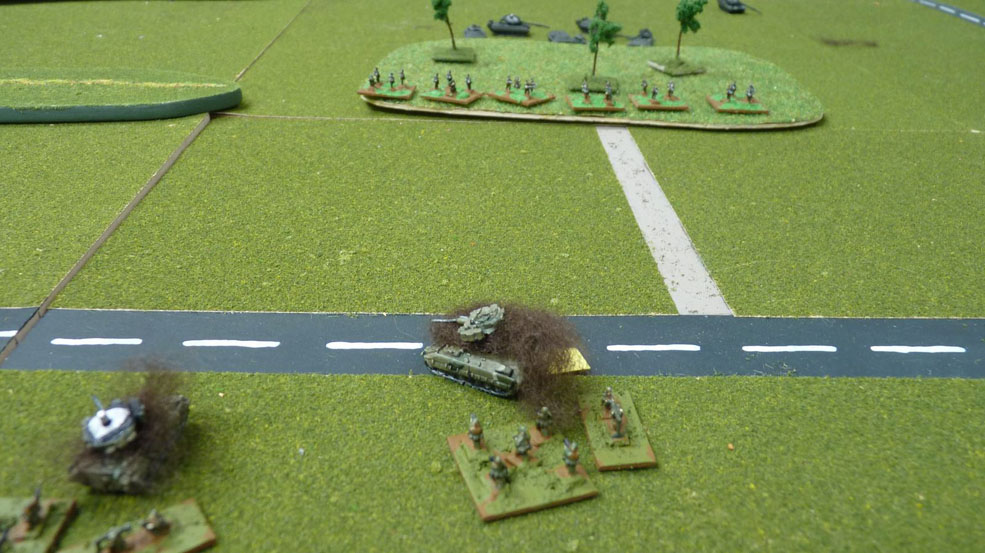 The M1s in the centre hunted down the last T64, first flanking it then destroying it. The US CHQ advanced to outflank the BMP. It survived but the Soviet morale finally broke as the Company Test indicated a 'Rout'
Result
A US victory but not an easy one with 5 out of 10 tanks and all the Bradleys lost. It was a fast and furious action played aggressively by both sides. With better Soviet shooting at a couple of critical moments the result might have been different.
Return to Battle Reports